
Walser Pistenraupen Modellbau
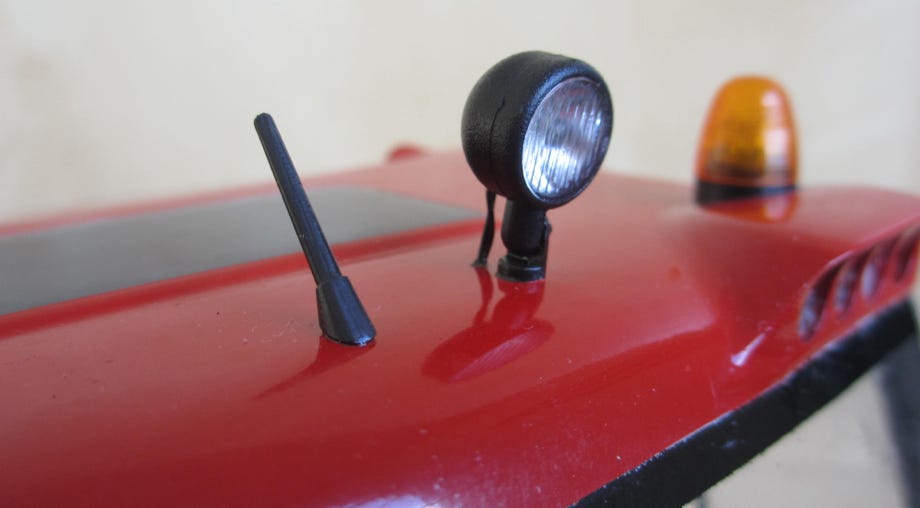
The lights: essential for working at night!
Here are a few tips for building a search light for the roof top, calculating resistors for LEDs and how to mount Pistenking work lights to self-made railing.
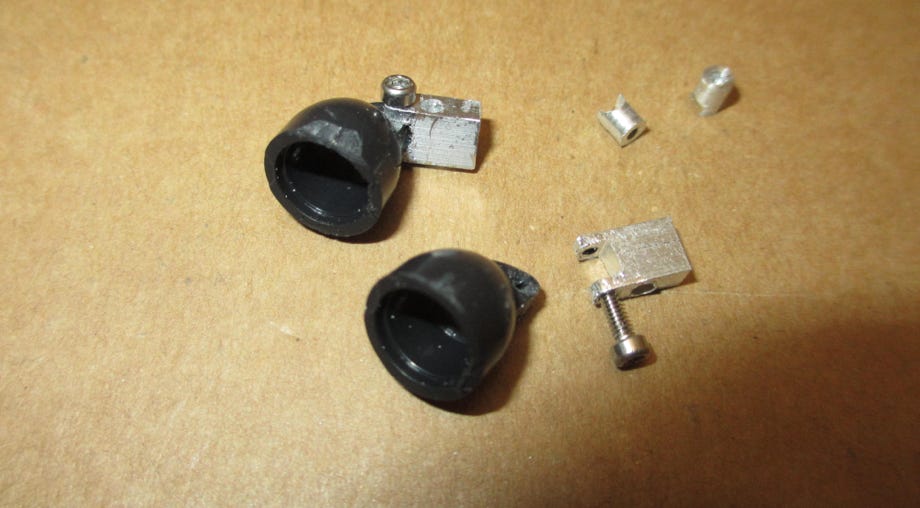
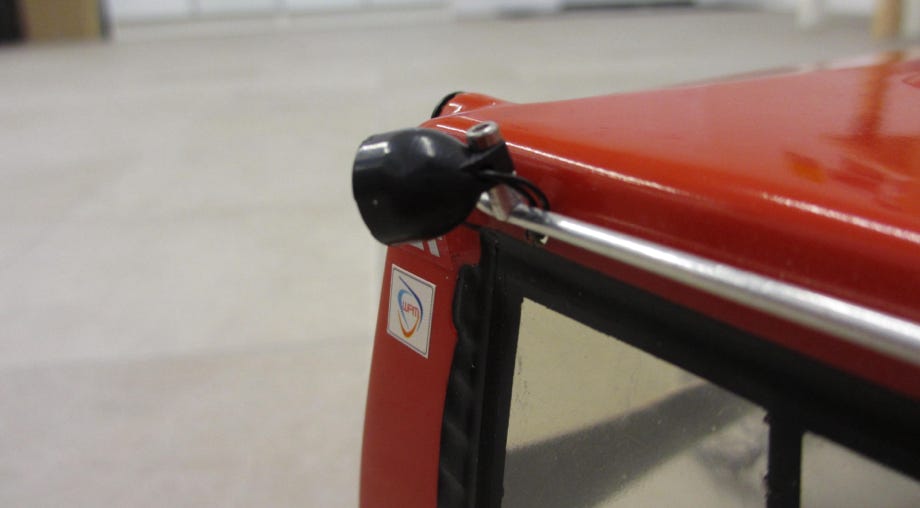
The Veroma working light (Article-No 207040) fits very well for the roof mounted working light for our snow cats. But it only consists of a plastic housing and a glas.
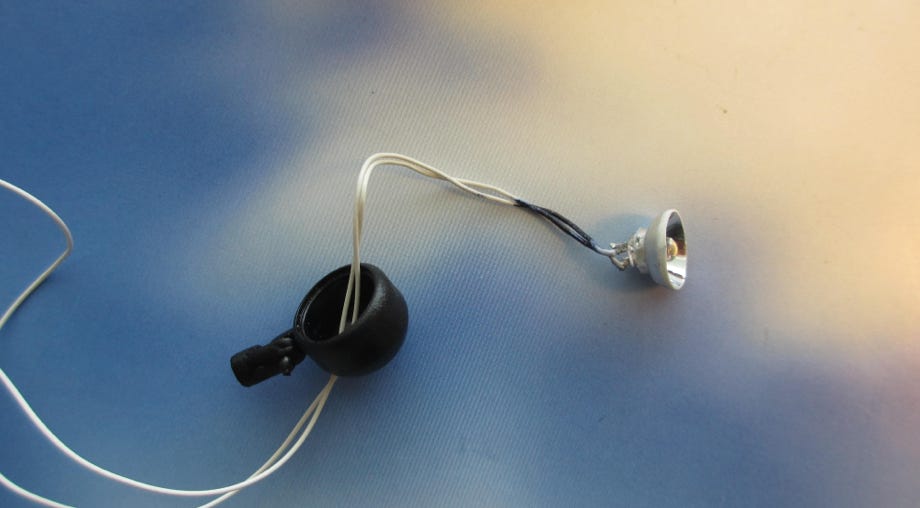
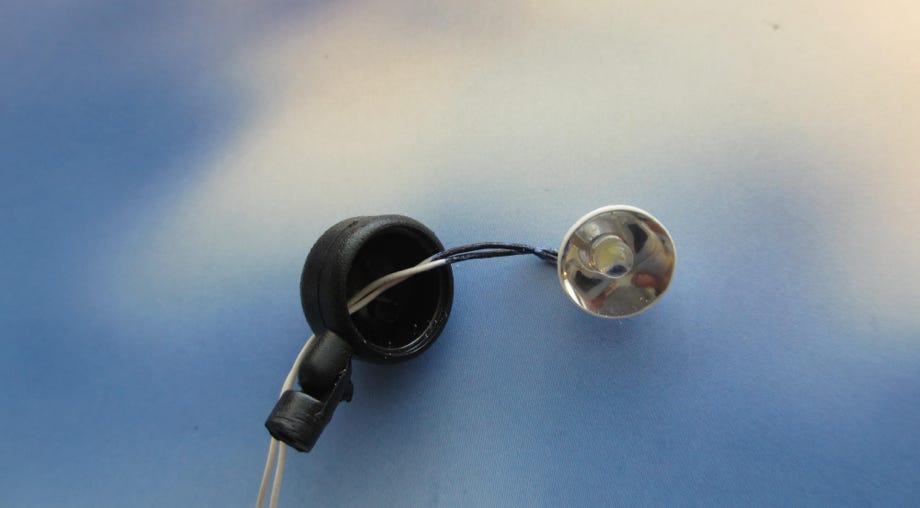
For installing a LED we adaptde a 3 mm reflector accordingly. First we shortened it by cutting off a bit at the front. Then we put in on a lathe and shaped the outside to make it fit into the reflector housing. Be sure to put a 3 mm metal rod into the hole for the LED. This enables tight clamping without destroying the part. If you don't have a lathe you can shape the part by hand, which takes more effort.
Then the back part of the reflector is shortened, where the LED is mounted. Drill a small hole in the housing for the wires, and finally glue the reflector with LED and the glass into place.
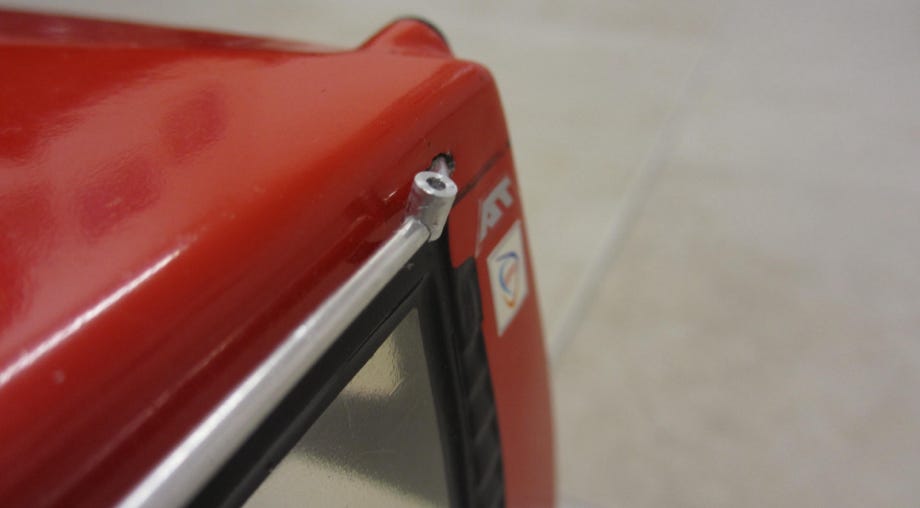
We also shortened the base a bit, otherwise it would stick too far above the roof. Drill a 4 mm hole into the cabin and glue the working light into the desired position.
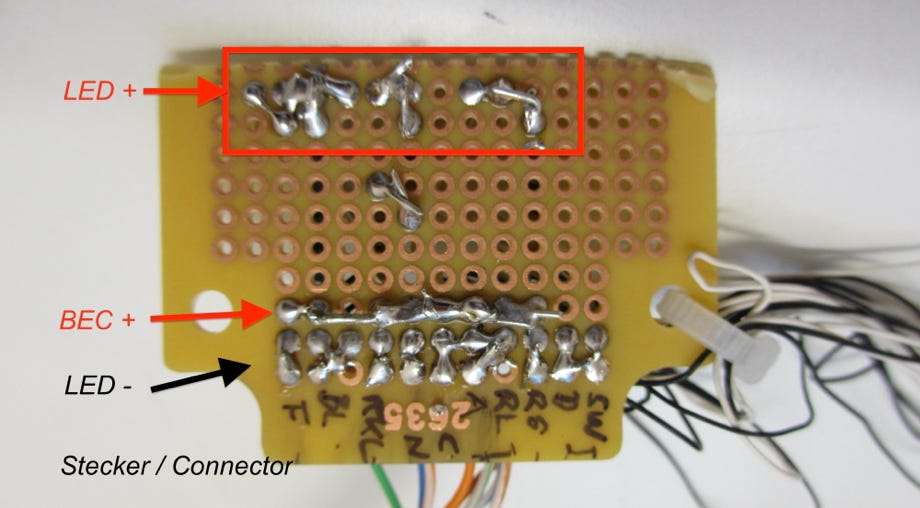
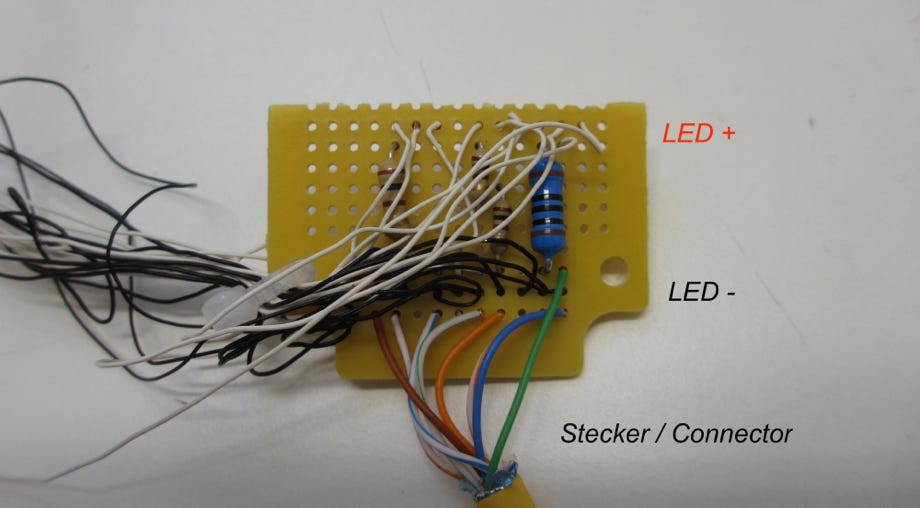
LEDs are perfect for models, they are cheap, small and extremely durable. The supply voltage for a LED is usually between 2 - 4 V and therefore always lower than the battery voltage of a model. Therefore resistors have to be used, which makes some modelers uncomfortable. But this is easier than thought. The internet has a lot of resistor calculators, we use this one:
Tip: Use the BEC for the voltage supply to reduce the loss heat at the resistor. A good speed controller, like the double speed controller by Pistenking, has sufficient BEC power for the LEDs. The Pistenking speed controller has a 5,5V BEC-voltage, which has to be entered as operating voltage in the calculator. The forward voltage of the LED is found in the LED data sheet. Fitting resistors can be ordered directly at most LED online vendors.
Tip: all radio controlled switches are switching the minus current. If the plus cable is run through the resistors, the different LED-voltages can be combined and you only need 2-3 resistors. For this one side of the resistors are joined together at the plus-side of the BEC, the other ends are attached to wires to the individual plus poles of the LEDs (white wires in the picture below). The minus poles of the LED (black wires) are attached to the connector and thus to the switch modules.
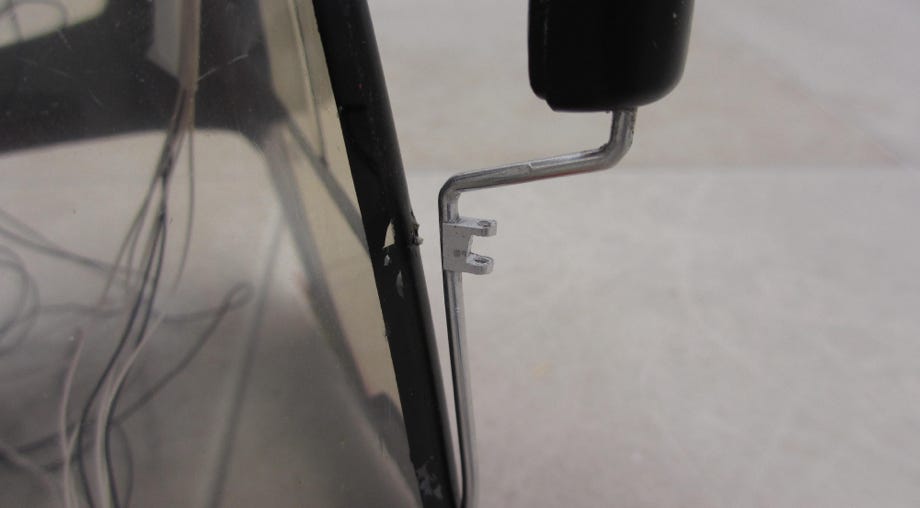
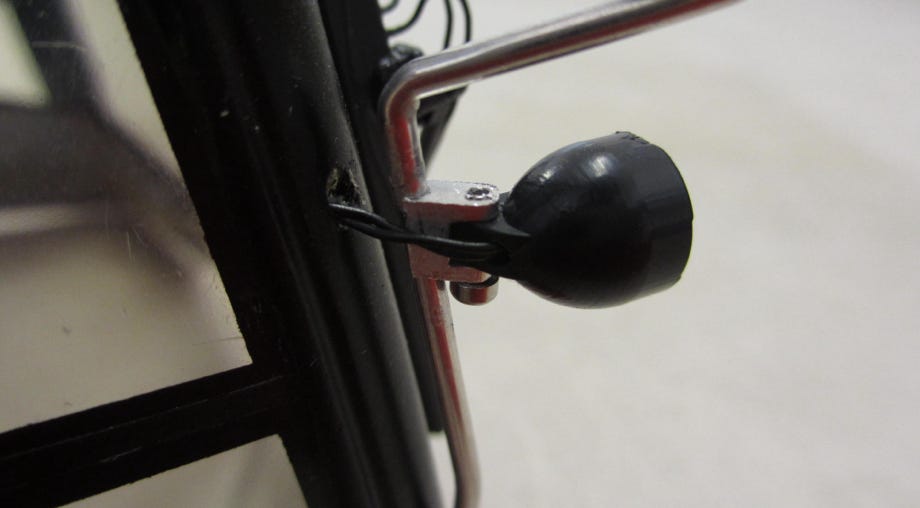
We attached the Pistenking work lights to our self made PB600 mirror holders. For this we manufactured holders, which are similar to the Pistenking mirror holders. We have done it with a milling machine and a lathe, but it can also be done with miniature files and a drill press. A M 1,6 thread is tapped into the holders for attaching the work lights with M 1,6 bolts. The holders have been glued in place with Loctite 435.
The round holder for the work light on the roof is app. 2,6 mm long, also with a M 1,6 thread.
The dimensions on the drawing are for a mirror holder of 1 mm aluminum wire. For thicker wires the dimensions have to be adjusted accordingly.
The drawing can be downloaded here.

Diese Seite verwendet Cookies. Sie stimmen der Verwendung von Cookies durch Anklicken von “OK” zu. Nähere Informationen finden Sie in unseren Datenschutzbestimmungen.
This page is using Cookies. You are permitting the use of cookies by clicking on “OK”. More information can be found at our Privacy Protection.


